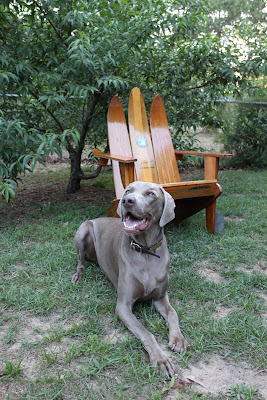
Yes, for all those who remember, I just made an old school Alliyah/Timbaland reference...
But anyhoo, we have moved our home improvement projects to the outdoors! This space was being neglected, but with just a little imagination, we plan on expanding out living space into an outdoor oasis.
We haven't finished quite yet, but to let you know what it looked like before, here are some pics:


I'll post some durings later, but to give you a hint, our makeover has included a saw, hammer and a good amount of "darnits" and "ugghs." All you DIYers know exactly what I'm talking about. Ya know, when you are super pumped about a project and you rush out to get the things that in your mind look oh so wonderful and then rush back only to find the measurements are right, it's not the right color, it's a bigger project than you anticipated...yep. It's an everyday struggle I suppose, but in the long run, the results are oh so worth it :).
But, in the meantime, I wanted to show you my chair(s) transformation. I got these chairs from my mom who found them on the side of the road (i think) and I absolutely loved them. So, I brought them home and took a wire brush, some sandpaper and a few cans of spray paint to 'em and they went from this...
Yuck:

To this, beautiful:
It's a little hard to see in this picture, but they turned out pretty darn good. For the step-by-step how to, see below.
Step 1: Remove all of the peeling paint with a wire brush and sandpaper.
Step 2: Once all of the peeling paint has been removed, you may then spray a layer of primer to make sure your top coat will adhere properly.

Step 3: If you chair is missing a seat (not a good thing if you actually plan on using it for sitting), bribe (or ask 12 times) your wonderful husband to stop what he is doing and draw a template for the new seat out of cardboard and cut it out of a 1/2 in to an 1 in thick plywood. Once he's done, it will look like this...

Step 5: After the chairs are primed, seated and ready for a tooshie... you may then proceed to spray your color of choice to the entire chair. I chose Valspar's Everglade Green (Lowes) because it matached the cushions we had bought.
Step 6: Once you've sprayed the chair with your new color, allow to dry completed and top with either a cushion or make your own pad! Either way, you'll have a new set of chairs that are great for either indoors or out!
Oh and I almost for got, you must be sure your truck bed looks like this while doing this project...

It's an organized mess. What can I say :).
So, like I said, we are still working on the porch, so stay tuned for the afters... and Happy Mother's Day to all the mums out there!


 Source
 Source


 So, there you go! Our new back porch! But I'm off to bed so tomorrow we can continue working on one of the other many projects we have going on (dining room makeover, occasional table redo, Gregory's adirondak chair, etc.)...goodnight!


 Well happy Sunday everyone. We have lots of projects in the mix right now so hopefully I'll be able to update le blog later in the week. Have a wonderful day!


 It's an organized mess. What can I say :).